
Der Ablauf des Druckes
|
STEP 1 - apply Nail Mask
Apply the NM - Nail Mask, a silicone milk, around the skin surrounding the nail. This helps you easily removing excess ink and ensures an even finish on the nail edges. The Nail Mask dries in the air within a few seconds. |
|
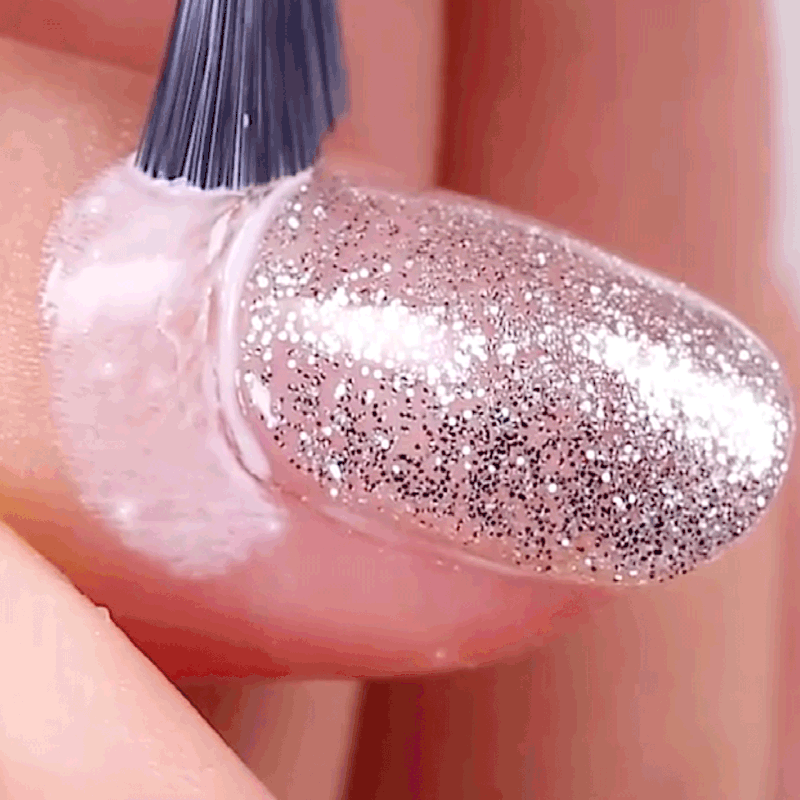
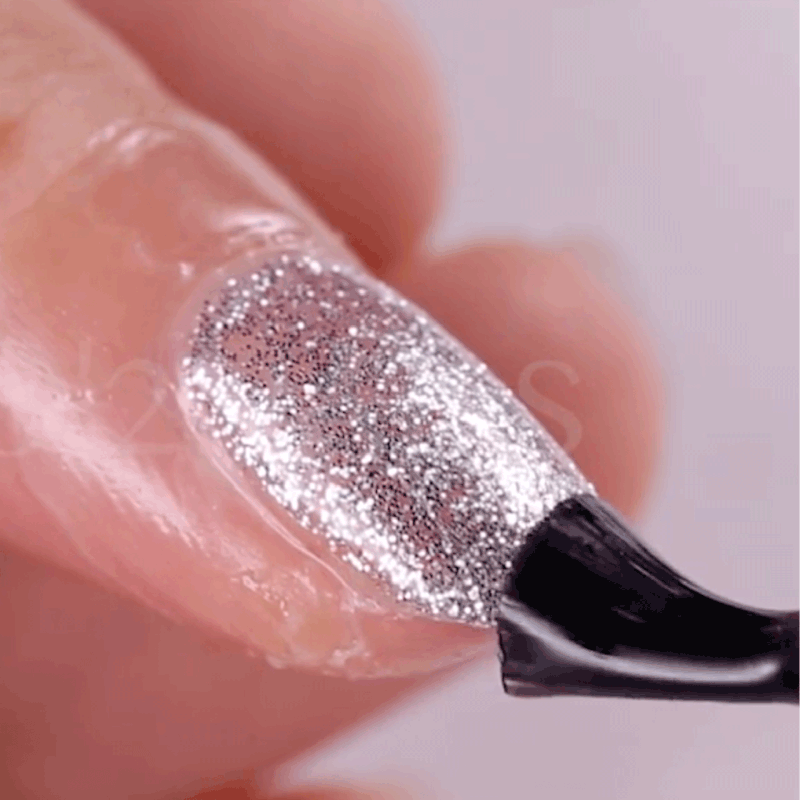
STEP 2 - apply Print Gel
This layer is the basis for high-resolution printing. An even and opaque application increases the print quality immensely. Different print gels (from PG1 to PG4) are available for various requirements. Then do not harden and put it directly into the printer. |
|
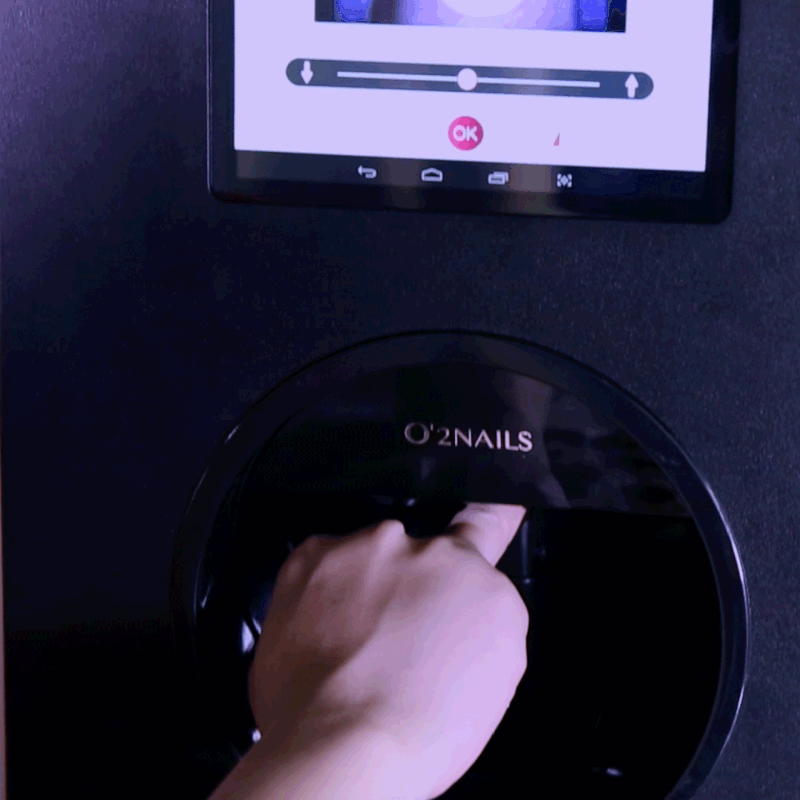
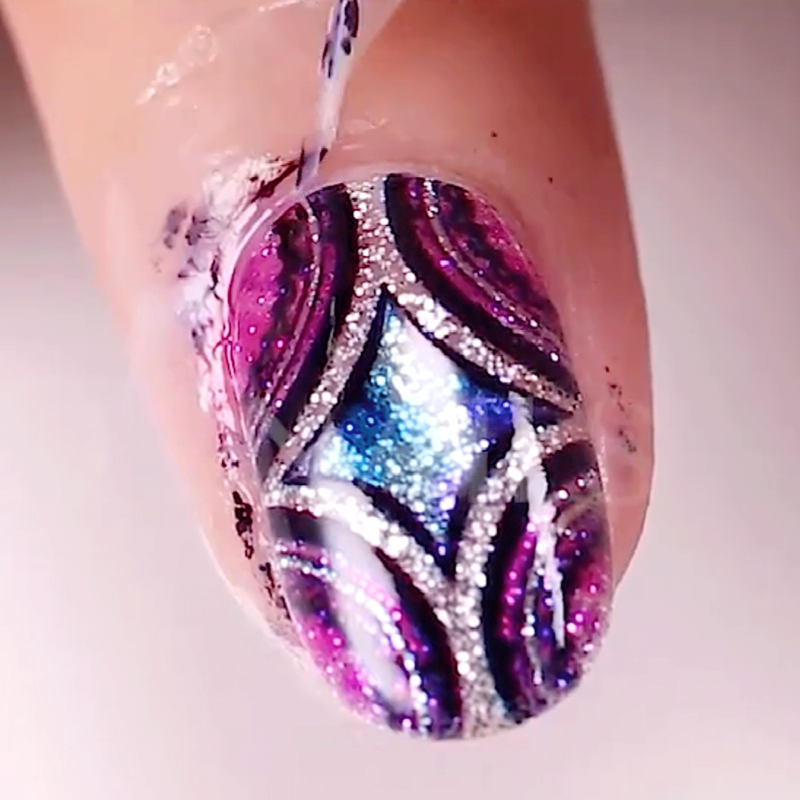
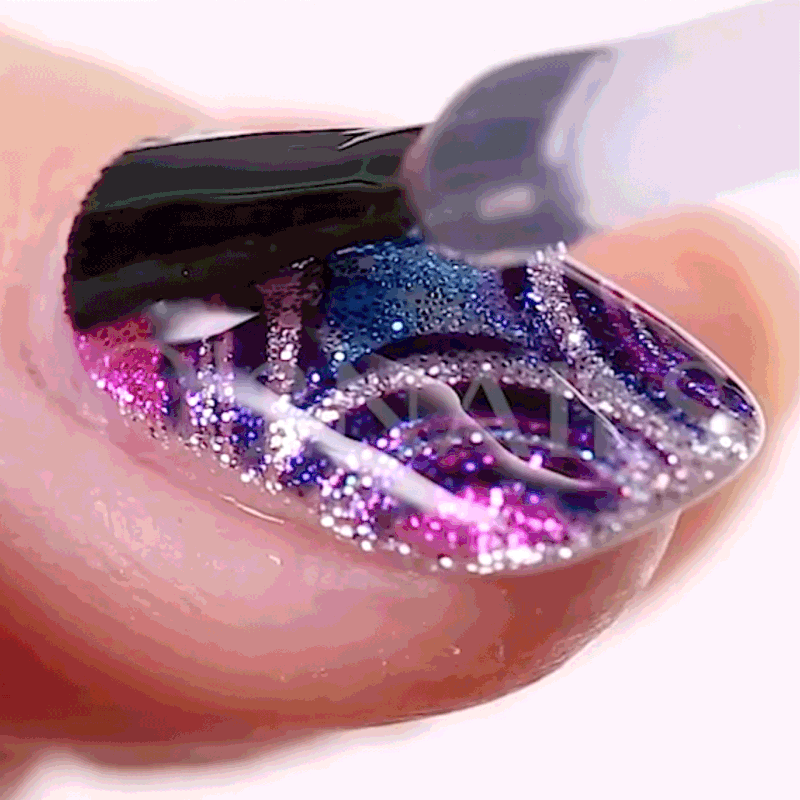
STEP 3 - print the design
Choose from over 500 pre-installed designs, download hundreds of additional designs free of charge on the Nail Style Store or a picture from your mobile phone or a specially developed design. Due to the flexibility of our app, there are no limits to your imagination - and that with high resolution. The picture is on the nail in 35 seconds - then harden for 60 seconds. |
|
STEP 4 - remove Nail Mask
Simply peel off the nail mask to remove the excess color of the print and prepare the nail for sealing. |
|
STEP 5 - apply Top Seal
Seal the nail with the TS - Top Seal - either with or without a dispersion layer. It is particularly important to cover the edges and the tip of the nail with the seal so that no moisture can penetrate between the seal and the print. Then harden for about 45 seconds for the last time. |